Customize and Download a Proposal
- Print
- DarkLight
- PDF
Customize and Download a Proposal
- Print
- DarkLight
- PDF
Article summary
Did you find this summary helpful?
Thank you for your feedback!
NOTICE
Unit Cost Estimates & Material and Labor Estimates have been retired and are only available for use in STACK accounts created prior to August 4, 2025.
If your STACK account was created on or after August 4, 2025, please refer to our Estimate Worksheet help documentation.
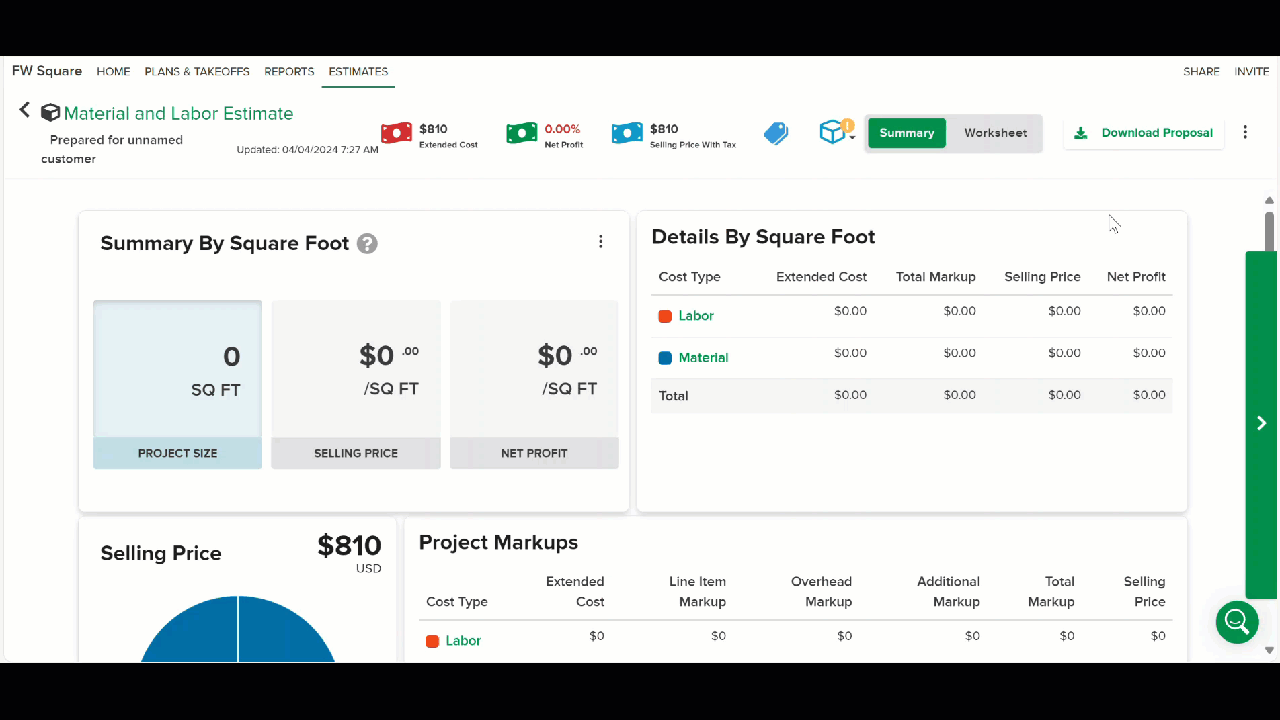
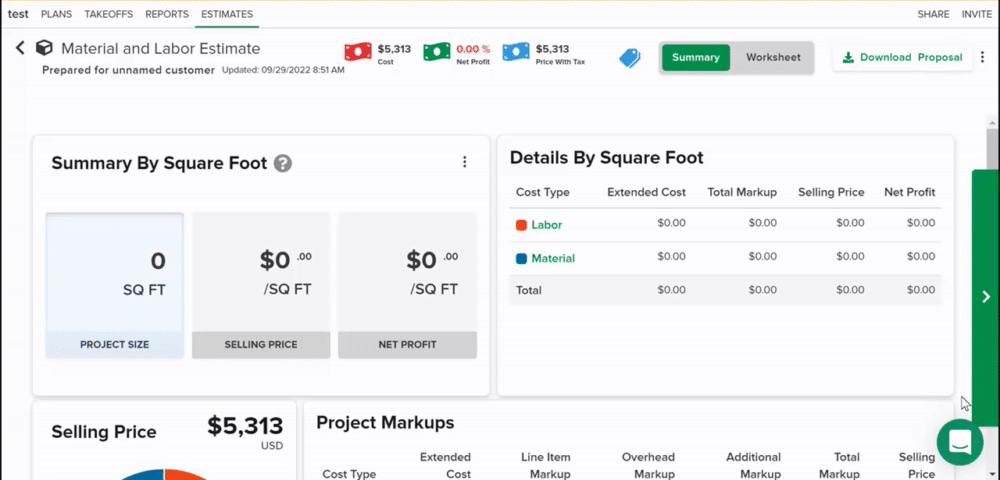
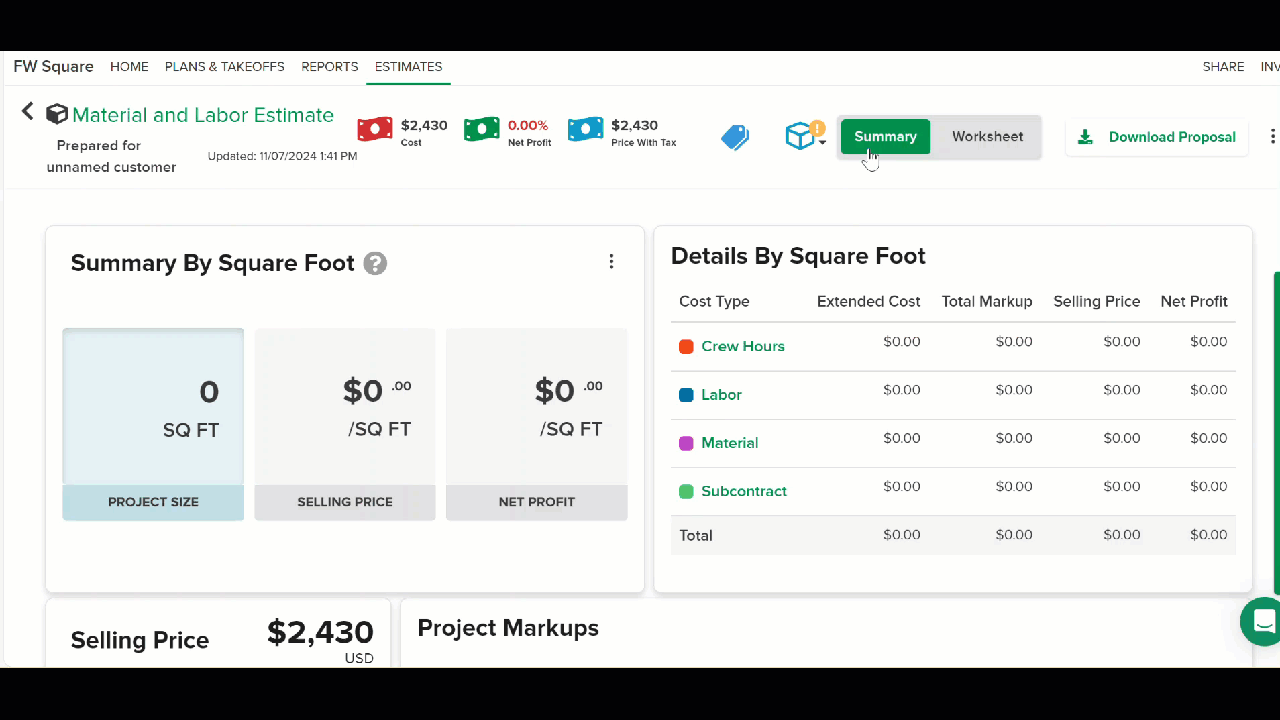
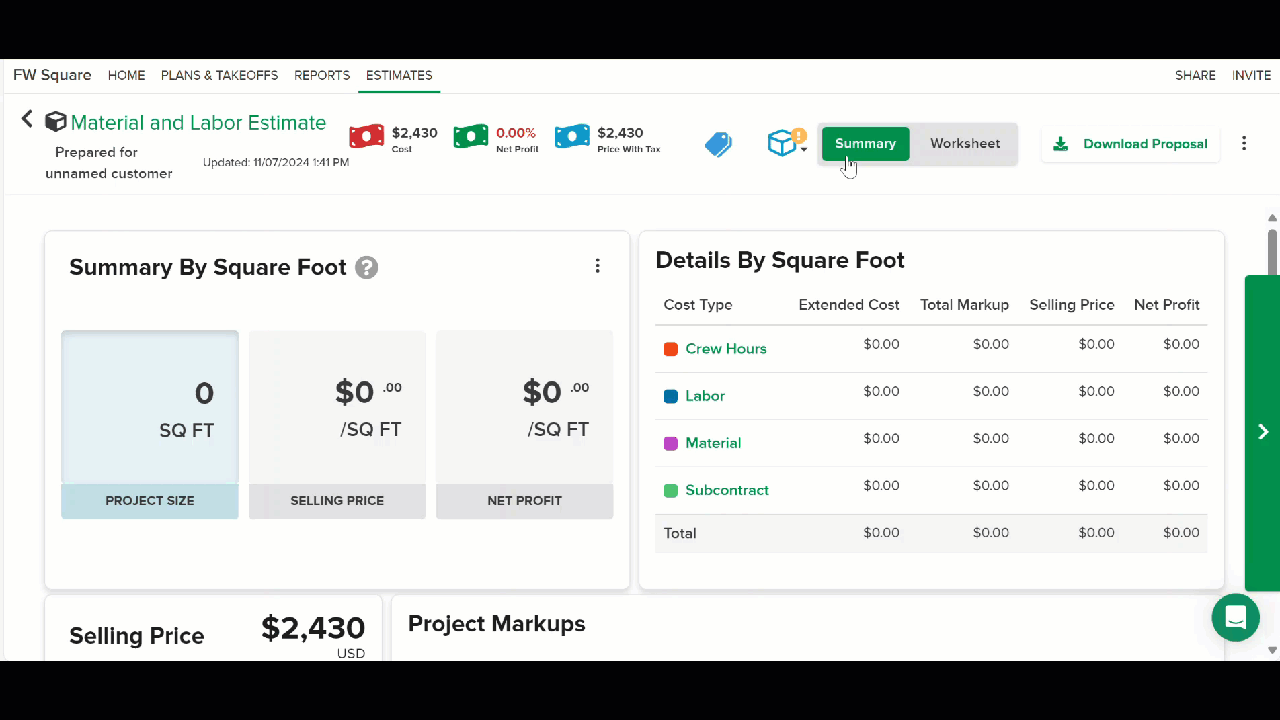
STACK uses your estimate information to create professional proposals you can customize and download as a PDF to send to your customers.
NOTE: Proposals can only be downloaded when using a Unit Cost Estimate or Material and Labor Estimate.
If you're using an Estimate Worksheet, refer to Export Estimate Worksheet Data for your export options.
Create a Proposal
A proposal is automatically created when you create a Material and Labor Estimate or Unit Cost Estimate.* Once you have reviewed the estimate - added any markup, taxes, additional costs - and are satisfied with the totals, you can customize and download the proposal.
If you need to create multiple proposals for a project, you can simply create additional estimates, make any necessary changes and follow the instructions below to customize and download the proposal(s).
*See Unit Cost Estimate / Material and Labor Estimate Overview if you need instructions on how to create an estimate.
Customize a Proposal
You can customize your proposal to be as simple or detailed as you’d like.
Proposals start with three standard pieces of information:
From there, you can add any of the following information:
Project Name
The name of the project is automatically populated on the proposal.
Date
The date is automatically populated.
Proposal Total
A lump sum total from your estimate is automatically populated.*
*You can choose to show more detailed costs in the Group Subtotal Summary and Line Item Detail sections.
Logo / Prepared By
You can quickly add your company logo, address and other contact information to the proposal by assigning a pre-created Trade Name.
Trade Names are created under Account Settings/Company Profile/Trade Name (click to learn more). You can create multiple Trade Names if you have different logos or business information that may apply to different proposals.
To change this information on your proposal:
Go to the tile at the bottom right of the Estimate Summary page.
Click the three dots to the right of your company info.
Click Select Trade Name.
Select a pre-created Trade Name from the dropdown.
If the Trade Name you want is not listed in the dropdown, a new Trade Name can be created in Account Settings/Company Profile/Trade Name (click to learn more).Click Save.
Customer
This section allows you to add customer contact information - company name, contact, address, email, phone number - to the proposal. You can select an existing customer from your Customer List* or enter new customer information and add it to your Customer List for future use.
TIP: The customer email and phone numbers entered will be live links you can click to start an email or call from within STACK.
*A Customer List is created so customer information doesn’t have to be manually entered on each proposal. Customer List is created and maintained in Account Settings/Customer List. Click here to learn more.
To add or change a Customer:
Go to the Customer tile at the bottom of the estimate Summary page.
NOTE: If you see a red notice at the bottom of the Customer tile stating This information is not stored in your Customer List., it means the customer information on the estimate was entered before Customer List was created or the customer has been deleted from the Customer List. You can click below the notice to add the customer to the Customer List; just enter any missing info when the Add New Customer screen opens and click Save. Or follow the steps below to select/add a different customer.Click the three dots to the right of customer.
Choose Select Customer to add an existing customer from your Customer List.
Select the customer you want to add and click the Select button.
OR
Choose AddNew Customer to add a customer not currently on your Customer List.
Enter the customer information and click the Save button. (The customer will be added to the estimate and your Customer List for future use.)
TIP: If you are adding a new customer/contact for a company already on your list, you can start typing in the company name to see similar existing companies, select one to autofill most of the fields, then just enter the relevant information for the new contact.
To remove the existing customer information:
Go to the Customer tile at the bottom of the estimate Summary page.
Click the three dots to the right of Customer.
Select Remove Customer.
Click the Remove button to confirm.
NOTE: This will only remove the customer information from the estimate, not from your account's Customer List.
To edit the existing customer information:
NOTE: Edits to customer information are made in Account Settings and you must be an Account Owner to edit customer information.
When you edit an existing customer's information, the information will be updated on all existing estimates linked to that customer.
Go to the Customer tile at the bottom of the estimate Summary page.
Click the three dots to the right of Customer.
Select Manage Customers.
If you are not an Account Owner, you will see a message to contact your Account Owner.
If you are an Account Owner, you will have the option to go to Account Settings to make the edits. See Create a Customer List article for instructions.
Scope of Work
You can easily add scope of work information to your proposal. You can manually enter the information, but we suggest creating templates* that you can re-use and quickly add with the click of a button.
Go to the Proposal Details tile at the bottom of the Estimate Summary.
Click Add.
Type in the information you want to add.
OR
If you’ve created templates*, select a template from the Select a template dropdown.Click Save & Close.
*Account Owners can create Scope of Work Templates so this information doesn’t have to be manually entered on each proposal. Templates are created in Account Settings/Company Settings. Click here to learn more.
Terms and Conditions
You can easily enter this information manually, but we suggest creating a template(s)* that you can re-use and quickly add with the click of a button.
Go to the Proposal Details tile at the bottom of the Estimate Summary.
Click Add.
Type in the information you want to add.
OR
If you’ve created templates*, select a template from the Select a template dropdown.Click Save & Close.
*Account Owners can create Terms and Conditions Templates so this information doesn’t have to be manually entered on each proposal. Templates are created in Account Settings/Company Settings. Click here to learn more.
Signature Line
Proposals are set to include a signature line by default.
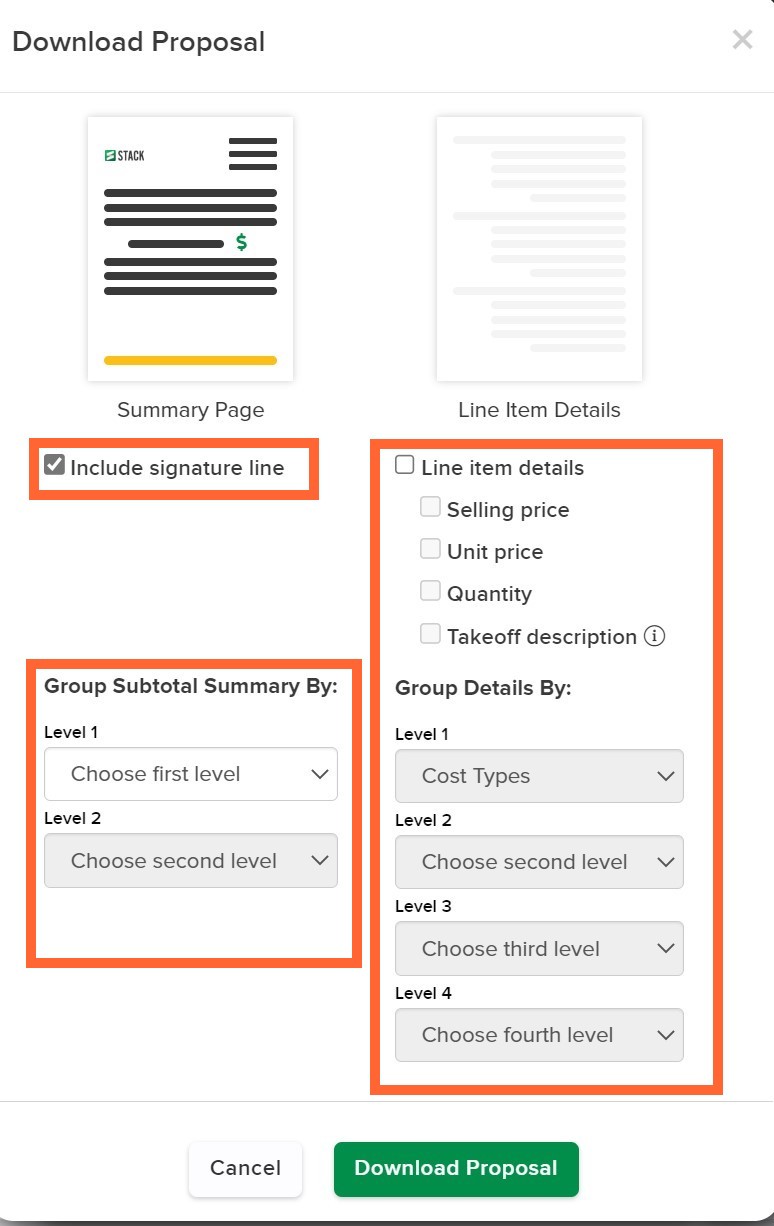
If you do not want to include a signature line on the proposal, simply uncheck the Include signature line box at step 2 of the Download a Proposal instructions.
Group Subtotal Summary
If you want to show the breakdown of costs in a little more detail than just the lump sum, you can include a summary section, subtotaled by up to two groupings.
You can choose from the following default groupings or group by any Labels* you have created:
Cost Type (not available if you used a Unit Cost Estimate)
Plan Name
Takeoff
*Creating Labels allows you to group data by any criteria you choose. For example you could create labels to to group by CSI Code, Phase, Building, Floor, Room, etc. More information on Labels can be found here.
You can add the Summary section at step 2 of the Download a Proposal instructions. Choose the group(s) you want to show from the Group Subtotal Summary By: dropdown(s). The Level order you select is the order in which the subtotals will appear on the proposal.
Line Item Details
To provide even more detailed information, you can include a line item detail page at the end of your proposal. This will display a list of all items used in the estimate which can be grouped up to four levels - Cost Type, Plan Name, Takeoff, and any Label(s)* you have created.
NOTE: Cost Type is not an option if you used a Unit Cost Estimate.
*Creating Labels allows you to group data by any criteria you choose. For example you could create labels to to group by CSI Code, Phase, Building, Floor, Room, etc. More information on Labels can be found Using Label Groups.
You can add Line Item Details at step 2 of the Download a Proposal instructions.
Click the box next to Line item details.
Select the details you want to include:
Selling Price - Click this box to display line item selling prices.
Unit Price - Click this box to display the per unit price.
Quantity - Click this box to display the quantity of material for the project.
Takeoff Description - If checked (and Takeoff is selected in Group Details By dropdown), the takeoff description will display in the header.
NOTE: This checkbox is only active if you select to group by Takeoff in one of the Group Details By: dropdowns.
Use the Group Details By: dropdowns to select how the details are grouped.
You can select up to 4 levels of groupings. The Level order you select is the order they will appear on the proposal.
Download a Proposal
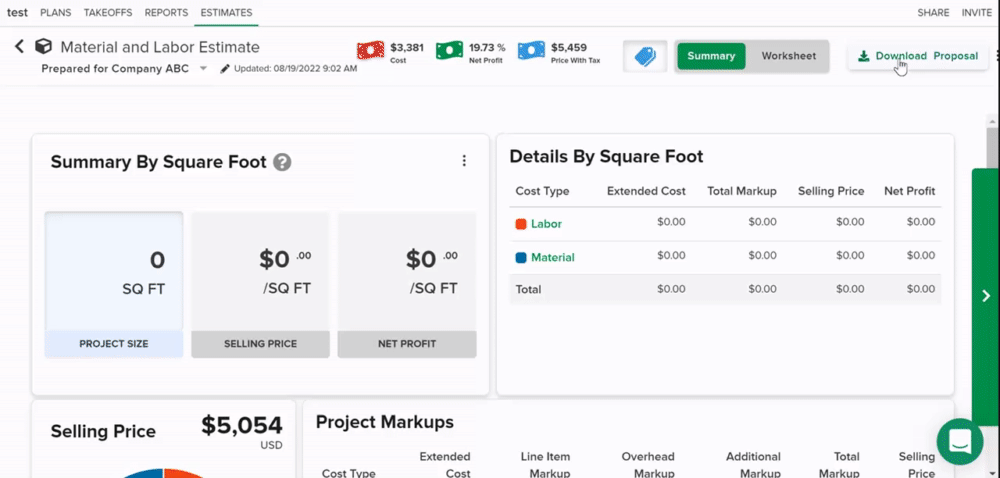
Click the Download Proposal button on the right side of the estimate toolbar.
Select/confirm your signature line, Group Subtotal Summary, and Line Items Details selections.* (See section above for more info if needed.)
Click the green Download Proposal button at the bottom of the selection box.
Review the proposal preview.
Click the Download icon on the right side of the preview toolbar.
A PDF will be saved to your Downloads folder.
*Selection screen image for reference:
Related Articles
Unit Cost Estimate / Material and Labor Estimate Overview
Account Settings
Using Label Groups
Was this article helpful?