Create Folders to Organize Your Plans
- Print
- DarkLight
- PDF
Create Folders to Organize Your Plans
- Print
- DarkLight
- PDF
Article summary
Did you find this summary helpful?
Thank you for your feedback!
It’s not uncommon to have hundreds, if not thousands, of plan pages and supporting documents for a project, so it’s important to be able to organize information to quickly find what you need.
In the Plans section of each project, you can create, name, and arrange folders and subfolders to organize your project materials in a way works for you and your team.
Creating folders can be especially useful to:
Keep addenda separate from the original plans.
Organize plans for each industry working on the project.
Separate the files you will be doing takeoffs on.
Create a Folder
When you create a folder, it is added to the Plans and Documents folder tree in the Plans section of your project.
NOTE: You cannot create folders in projects that have been shared with you or that you have been invited to from another STACK account.
Folders within each level of the folder tree are listed in alphanumeric order.

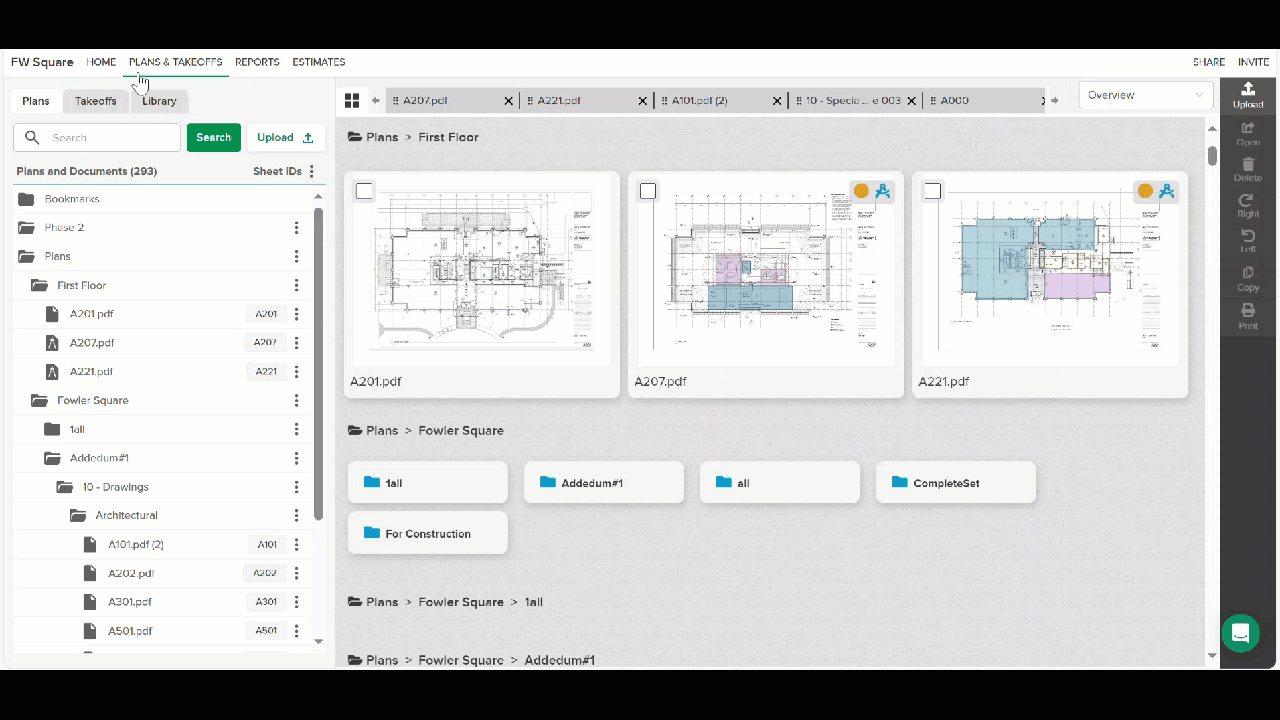
- Go to the PLANS & TAKEOFFS section of your project.
- Click the Plans tab.
- Click the three dots to the right of Sheet IDs to create a top-level folder.
OR
Click the three dots to the right of an existing folder tocreate a subfolder. - Click Create Folder.
- The New Folder name will be highlighted in blue, type in the name you want for the folder and hit enter on your keyboard.
TIP: Since folders within each level of the folder tree are listed in alphanumeric order, create a naming system for your folders so they will appear in the order you want.
Repeat to create additional folders/sub-folders as needed.
Once you’ve created the folder(s) you can move plans or documents into them. You can also move folders to different levels within the folder tree hierarchy if needed.
Move Plans/Documents to a Different Folder
If you just need to move one plan or document, you can use your mouse to click and drag the plan or document to the desired folder. You can click and drag from the Overview tab or within the folder tree.
To move multiple plans/documents:
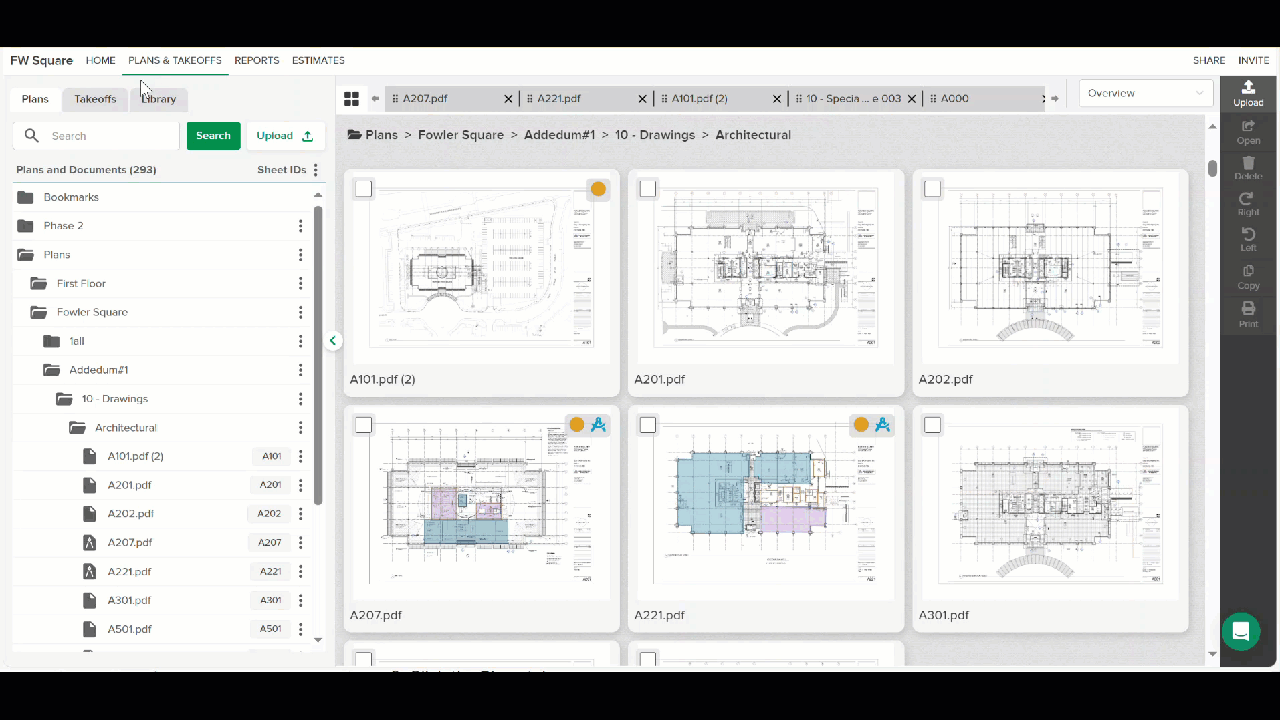
Go to the PLANS & TAKEOFFS section of your project.
Click the Plans tab.
On the Overview tab, click the checkbox in the upper left of the thumbnail for each plan or document you want to move.*
TIP: If you select one thumbnail, hold the shift key and select another thumbnail, all thumbnails between them will also be selected.
Hotkey CTRL + A (or Command A on a Mac) will select all of the thumbnails and ESC will de-select all selected thumbnail images.Use your mouse to click and drag the thumbnail(s) to the desired folder.
Move Folders within the Folder Tree Hierarchy
You can easily move folders to different levels within the folder tree hierarchy. With a quick drag and drop, you can move a subfolder to another folder or make a top-level folder a subfolder.
NOTE: You cannot use drag and drop to arrange the order in which folders appear on the folder tree (folders within each level are listed in alphanumeric order).
When you move a folder, all subfolders to that folder and all files within that folder and its subfolders also move.
Make a Top-level Folder a Subfolder or Move a Subfolder

Locate the folder you want to move under Plans and Documents or on the Overview tab.
Click and drag the folder onto the folder where you want to move it.
Rename or Delete a Folder
NOTE: When you delete a folder, all subfolders to that folder and all files (including measurements) within that folder and its subfolders are also deleted. Make sure to move any files or subfolders you want to keep to a different folder before deleting.
TIP: You can rename folders, which might be a better option than deleting a folder in some cases. To rename, follow steps 1-4 below, select Rename Folder, type in a new name, and hit enter.

Go to the PLANS& TAKEOFFS section of your project.
Click the Plans tab.
Locate the folder you want to delete under Plans and Documents.
Click the three dots to the right of the folder.
Choose Delete Folder.
Click Delete to confirm.
Related Articles
Organize your Project Documents
Rotate Plans
Was this article helpful?